
We may earn revenue from the products available on this page and participate in affiliate programs.
Bathrooms aren’t exactly where design risks run wild (hello, space-starved layouts and potential plumbing disasters). But when interior designer Jenn Bliss and her husband, Ryley, moved into a farmhouse on 33 acres in Port Stephens, Australia, they had one bold idea: cover the bathroom in classic tongue-and-groove paneling.
There was just one small problem—real wood and wet zones don’t mix. Cue a little experimentation. “The inspiration for this project stemmed from a desire to reimagine the traditional approach to wet area design,” Jenn says. Translation: They figured out a way to get the look of wood, without a single board of timber. And the result? A bathroom that feels both timeless and totally unexpected.
One Very Smart Swap
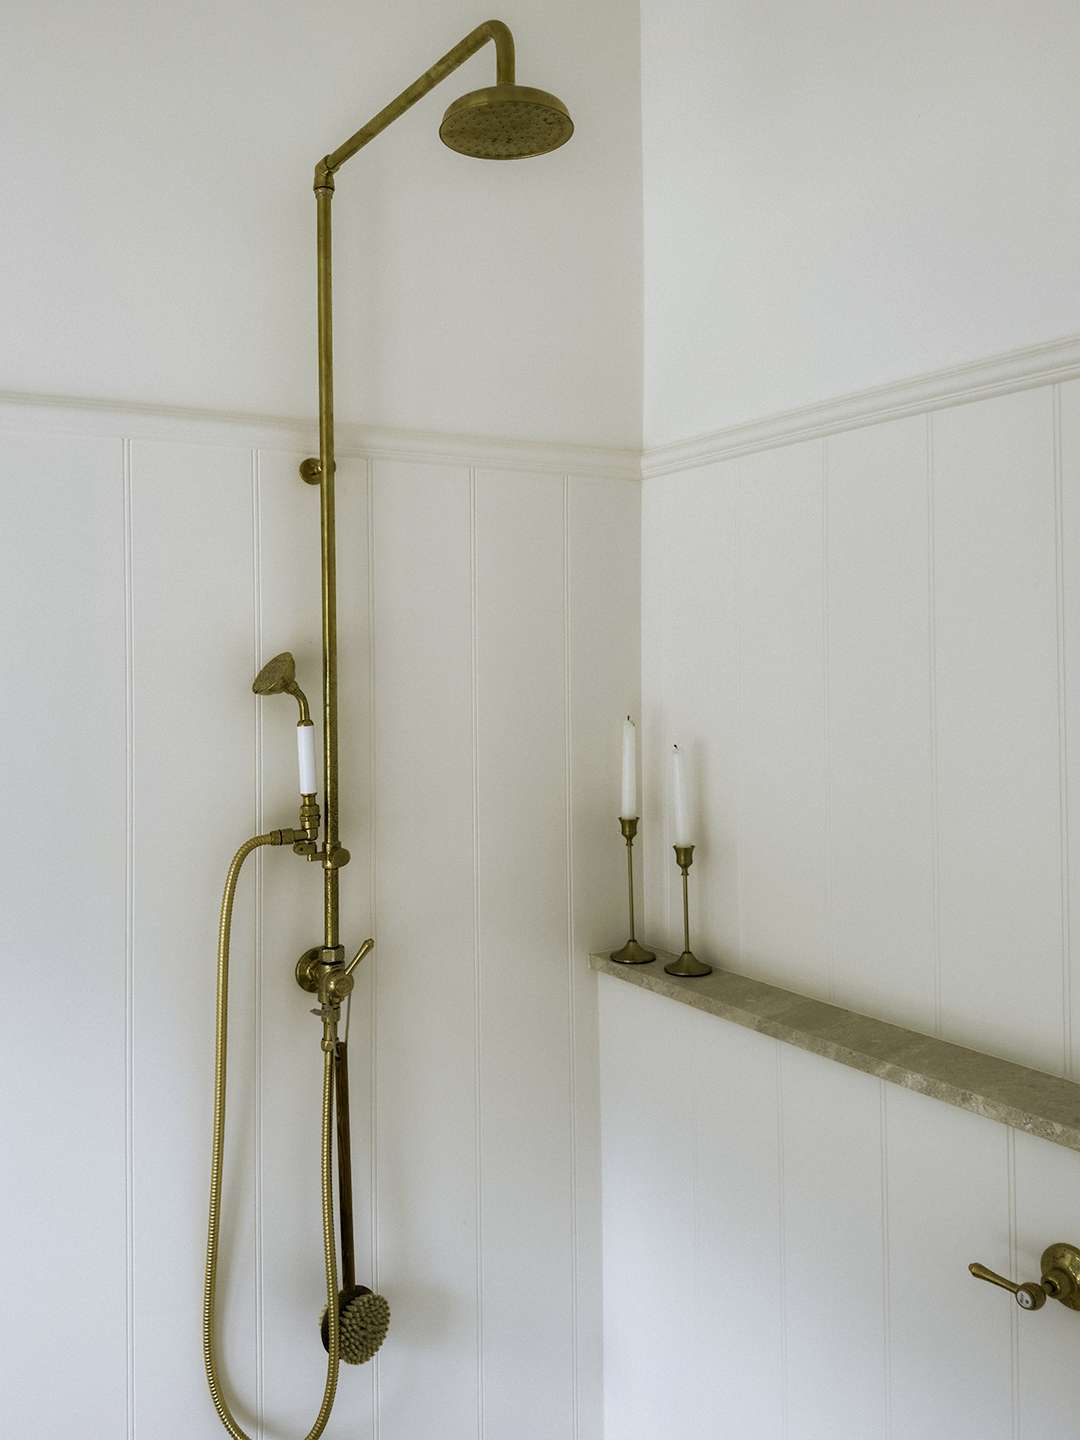
Jenn knew that tile would make an appearance on the bathroom floor, but she didn’t want it stealing the show. She and Ryley envisioned a partially enclosed wet room with a tub on one side, a shower on the other, and tongue-and-groove paneling wrapping the lower half of the walls. A curved archway would separate the alcove from the rest of the space, with a window above the tub to let in natural light.
“We were set on achieving that classic, lining-board look in the bathroom, but we knew traditional timber wasn’t suitable or compliant for a wet zone,” Jenn says. “So we had to think outside the box.”
After testing out some options, they landed on a material that could act as faux timber against the bathroom’s elements: aluminum. “It gave us the exact profile and visual texture we were after, but with the added benefit of being completely moisture-resistant and low maintenance,” she says.

Mastering the Imitation Game
Jenn and Ryley partnered with a manufacturer to figure out the best way to mimic the look of wood boards. “It required a lot of research and testing,” Jenn says. Ryley suggested having a professional cut grooves into aluminum sheets to create the effect of tongue-and-groove. The manufacturer produced a laser-cut sample with various groove depths and spacings, and together they landed on the perfect combination. Once the wet room was fully waterproofed, they prepped the boards for installation.
The Home Stretch
Before installation, Ryley and the builder cut holes in the boards for plumbing and fixtures. The panels were then sanded, primed, and painted to match the rest of the space, and installed beneath a rail to enhance the illusion of real wood. Paired with brass fixtures, tiled floors, and a coordinating shower ledge, the bathroom is now coming together just as Jenn envisioned.
“Don’t be afraid to challenge the norm,” she says. “But do your research and understand the functionality of what you’re selecting just as much as the aesthetic.”